You have bought a Freepark Smart Parking Barrier. What to do next?
I have prepared this blog post to explain how to use Freepark Smart Parking Barriers in your personal parking lots step by step.
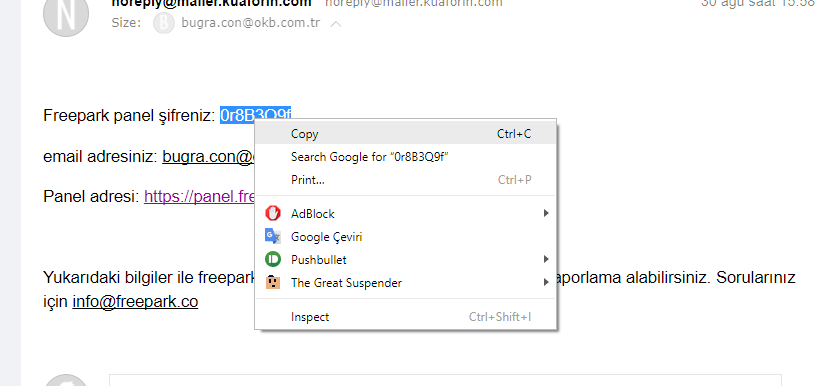
- After installation of Freepark Smart Parking Barrier is compeleted by authorized service, you will recieve an email.
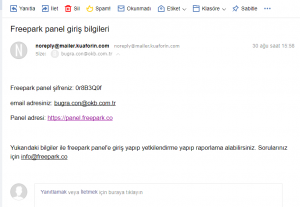
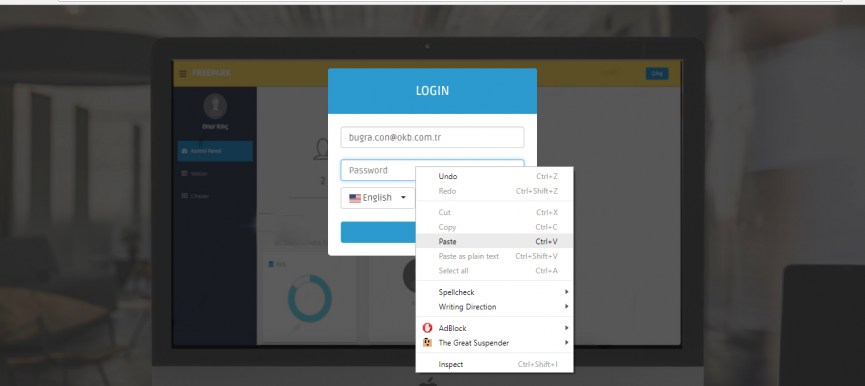
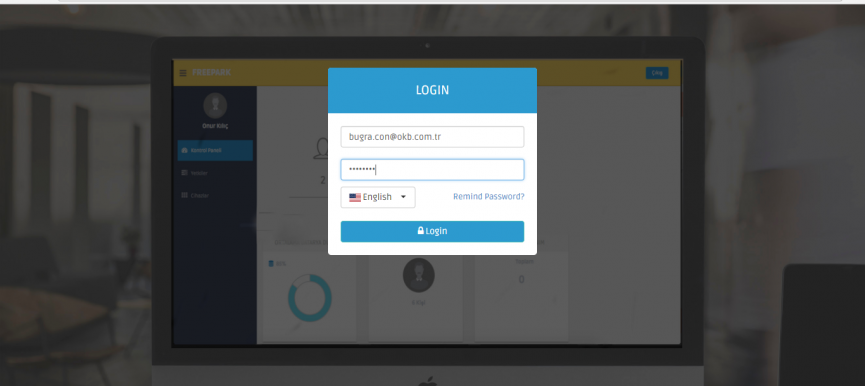
- By clicking the link on the email you have recieved, you can go to panel homepage. Now, you can sign in with the your email and the password you have recieved. (After signing in, you can change your password.)
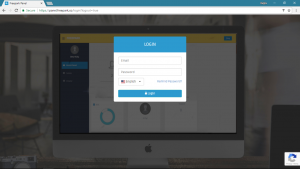
- If you face a problem, double check the password and your email address. (Easiest way is to copy your email and password from the email you have recieved.)
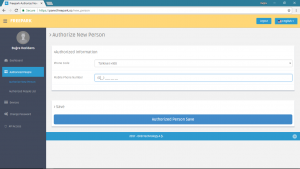
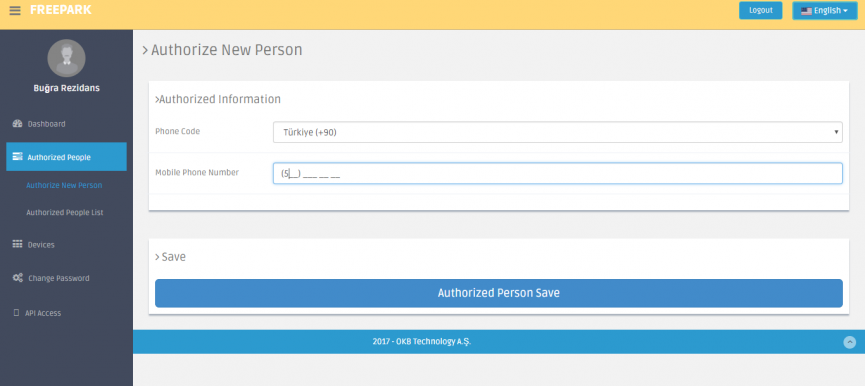
- Now, you see your dashboard. Next step is authorizing the phone you will use to control your barrier. To do that, choose “Authorized People” and “Authorize New Person” from the menu which is place on the left hand side of the page. Enter the number you want to authorize to the box and click “Save New Authorization”.
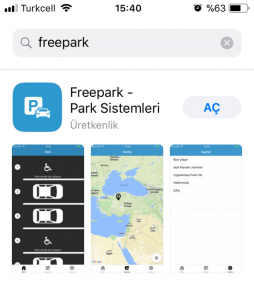
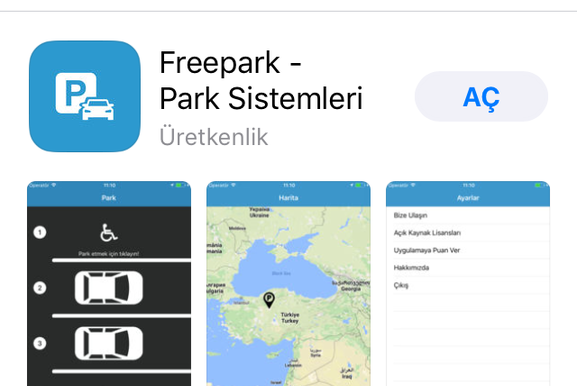
- You completed authorizing the first person you want to control the barrier. Now, take your phone and search “freepark” on AppStore if you use an iOS device or Play Store if you use an Android device. Then download the app.
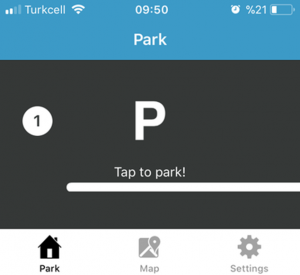
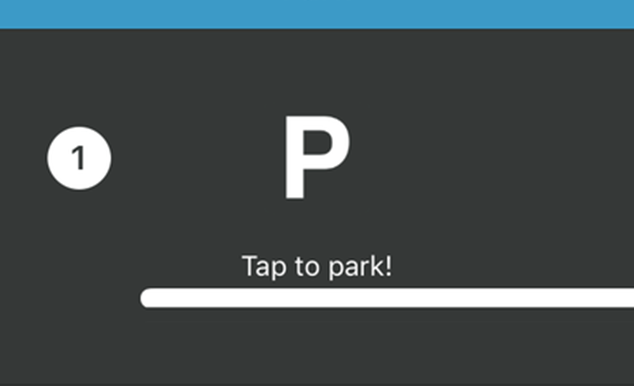
- Type your phone number to the space when you open the app. It is needed for text verification. If you gave the permission to reach your texts, it will automatically verify. Otherwise, you should write four digit code you recieved to the box. If you didn’t recieve ant text, you can click “Send Again” after 3 minutes. If you think you typed wrong number, you can click “Wrong number?”. After the verification, you can control your barrier without an internet connection.
- If you want to authorize more people, you can follow the steps 4, 5 and 6.
- You can reach further infotmation about the panel, you can click here.